Whether it be for fun or out of necessity (or perhaps even part of your lengthy honey-do list), you have decided to take on a DIY painting project. Now that the decision has been made a dose of reality will soon hit and you will have to figure out what you need and how to get the project done. Let us take you through a small list of recommended tools for the DIY painter.
DIY Paint Tools
Your Buckets
Let’s break this down and make it as simple and straight forward as possible. You need something to put your paint in. We recommend having two sizes of buckets on hand, one to use as your ‘cut’ bucket and one for your roller.
Cut Bucket: this could be many things, a hand held bucket, a one or two gallon bucket from the paint or hardware store or the actual gallon of paint you buy (after much of the paint has been poured out).
Roller Bucket: many homeowners will opt to go with a nine inch roller for the walls and if you are one of those folks, a five gallon bucket will serve you just fine. If you feel comfortable handling a bit larger roller, go ahead and get yourself a fourteen or eighteen inch roller tray to accompany the matching roller size.
NOTE: At minimum you will need a bucket screen (a super cheap investment) for your cut bucket. If you go with the five gallon bucket and nine inch roller, you will also want a large screen for the bucket.
Your Rollers
It is time now to outfit each of your buckets with a roller cover and roller handle. Your cut bucket is what you will be using to complete detailed cutting in and painting needs so for this bucket you are going mini. Grab yourself a four inch roller handle and 3/8inch or 1/2 inch nap roller cover (for standard, relatively smooth drywall). If you have textured or stucco surfaces as part of your project, simply ask at the paint counter for the recommended roller cover
Tip: the nap of the roller will get larger as the surface gets rougher.
For your large roller you just need to get the roller cover and handle that fits the bucket/pan you have chosen. You can, again, go with a 3/8inch or 1/2inch nap for your cover if you are painting a standard wall.
Tip: Don’t let painting be back-breaking work. For a relatively inexpensive cost you can pick up an extension pole for your roller handle and save yourself the up and down bending while rolling your walls.
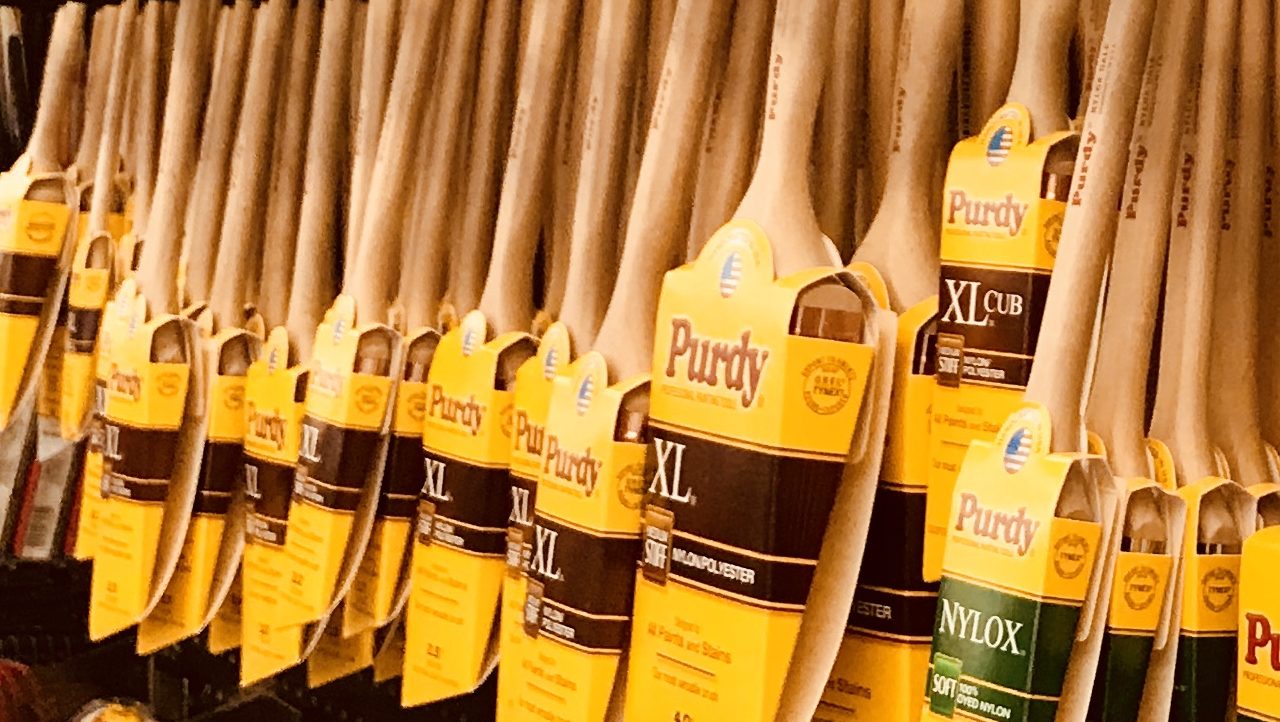
Your Brush
The time has come in our preparation to select the ‘piece de resistance’, the paint brush. Unfortunately we cannot recommend to you the ‘best’ brush because this is a matter of personal opinion, but what we can do is give you some tips to consider when selecting a brush. Below are some factors to consider when selecting your brush.
- Don’t be afraid to hold several brushes while you are at the store and get a feel for them in your hand. Comfort (and confidence) is key to a quality paint job!
- A typical selection for a cut brush would be either a 2.5 inch or 3 inch brush. Don’t let the larger brush size scare you, it is important when cutting to have plenty of paint available in your brush.
- Know the product you are going to be applying. If you are doing oil based painting, choose a natural bristle brush. If you are applying a latex paint, go with a synthetic brush.
- Check the quality of the bristle tips. Cheap brushes, which would not be ideal for a fine DIY project, will be cut straight across and lack consistency across the end of the brush. We typically prefer a semi-stiff to stiff brush with angle cut bristles.
Sundries
You don’t need much more than what we have discussed thus far, but think ahead when planning your project and consider all potential implications of applying paint. For example-are you painting ceilings? If so, get plastic to cover all furniture below. It doesn’t matter how good you are, paint sprinkles will come down. Is your baseboard natural wood and/or not being re-painted in the process? If so, get painter’s tape and spend some time taping off your base or, again, you will have issue with paint sprinkles. Lastly, and most importantly, you will want to invest in a nice drop cloth. Putting plastic down on the ground is never a good idea-you definitely don’t need to risk a slip and fall during your project. A nice canvas drop cloth will serve you best and protect your flooring from any paint mishaps.
A fresh coat of paint is exciting and transformative. We hope these tips help your next DIY project run smoothly.
Happy Painting!