If you read the first part of this article “French Door Painting” and want to immediately pull your hair out-just wait! We are about to take you through a great process that will make French Door painting far easier than you may think. You will be blown away.
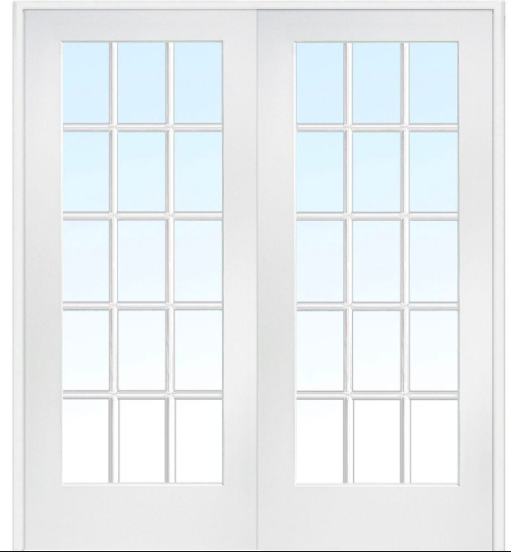
When we typically think of door painting, we know that painting around the individual glass panels can be difficult to do without accidentally swiping paint down on the glass. Not only that, but painting French doors (and windows) can be some of the most time consuming paint projects you choose to do. Well, not any more. We have a 5 step process for you that will significantly reduce the difficulty and clean up on a project like this. Let’s get started!

Five Steps to Simple French Door Painting
Remove French Door Hardware
This step may take you an additional five minutes, but it will tremendously improve the finished look of your paint job. By removing your door knob/hardware you reduce any circular brush marks around the handle and eliminate all possibilities of paint drips landing on your knob.
Tip: Find a secure place to put all your hardware components for the duration of your project. Nothing is worse than finishing up your project and be one screw short. A resealable plastic bag or plastic container with a lid will do just fine.
Remove Hinges
You make the call on this one, but we tend to think taking a door down and laying it horizontally is an easier way to work. If you choose to take the door down, simply pop the door off the hinges and lay it down on a workbench or in between 2 saw horses. Don’t forget to also store your hinge pieces safely away.
Sand and Clean
All good painting projects start right here. Ensure your door surface is free of any grease, dirt or dust. Most doors will be in good shape after just a quick and light sanding. In the event that your door has been through quite a bit, consider using a gentle mix of soap and water or a mild de-greaser to prepare it for the upcoming steps.
Skip Painter’s Tape-Apply Masking Liquid
This is generally the fatal step for many DIY French Door painters. Painter’s tape is not 100% preventative of paint leakage. When you lean too heavily on this assumption you may quickly be disappointed. Not only is it difficult to get painter’s tape evenly and accurately applied in all 4 corners of each panel, it cannot be used to ward off all paint from getting on the glass.
This is where masking liquid enters the picture (and saves your sanity)! Masking liquid is created to be painted on your glass and repel any finish coat paint from sneaking down on to your window panes. It may seem counterintuitive to paint on glass when you are trying to prevent paint on the glass, but it is the transformation of this liquid that will enhance your project results.
Masking liquid will dry into a thin plastic-like film across your glass. Because you paint it right on your glass (and, yes, it is even OK to get it on the edges of your wood frame) you can ensure even coverage and protection from any finish paint.
It is recommended to apply two coats of the masking liquid. Once fully cured, you are free to start painting your door.
Allow time for your finish paint to completely dry and then simply score the masking liquid and gently peel away. You will be left with a paint-free glass panel. Even better-you will have a perfectly straight paint line also!
Re-Install Your French Door
Everything has been freshly painted, masking liquid removed and you are now ready to work in reverse. Start by re-installing your doors, beginning with the hinges. Gently line everything back up and tap your pins back in place. Once you have completed that, grab your trusty bag or bin of door hardware and screw everything back in place. If any small scratches happen along the way, just be prepared to a last minute touch-up with your finish paint and you will be good to go.
We hope these few steps help you transform and refresh any French Doors you may have around your house….and save you hours of scraping paint off the glass with a razor blade.
Happy Painting!


