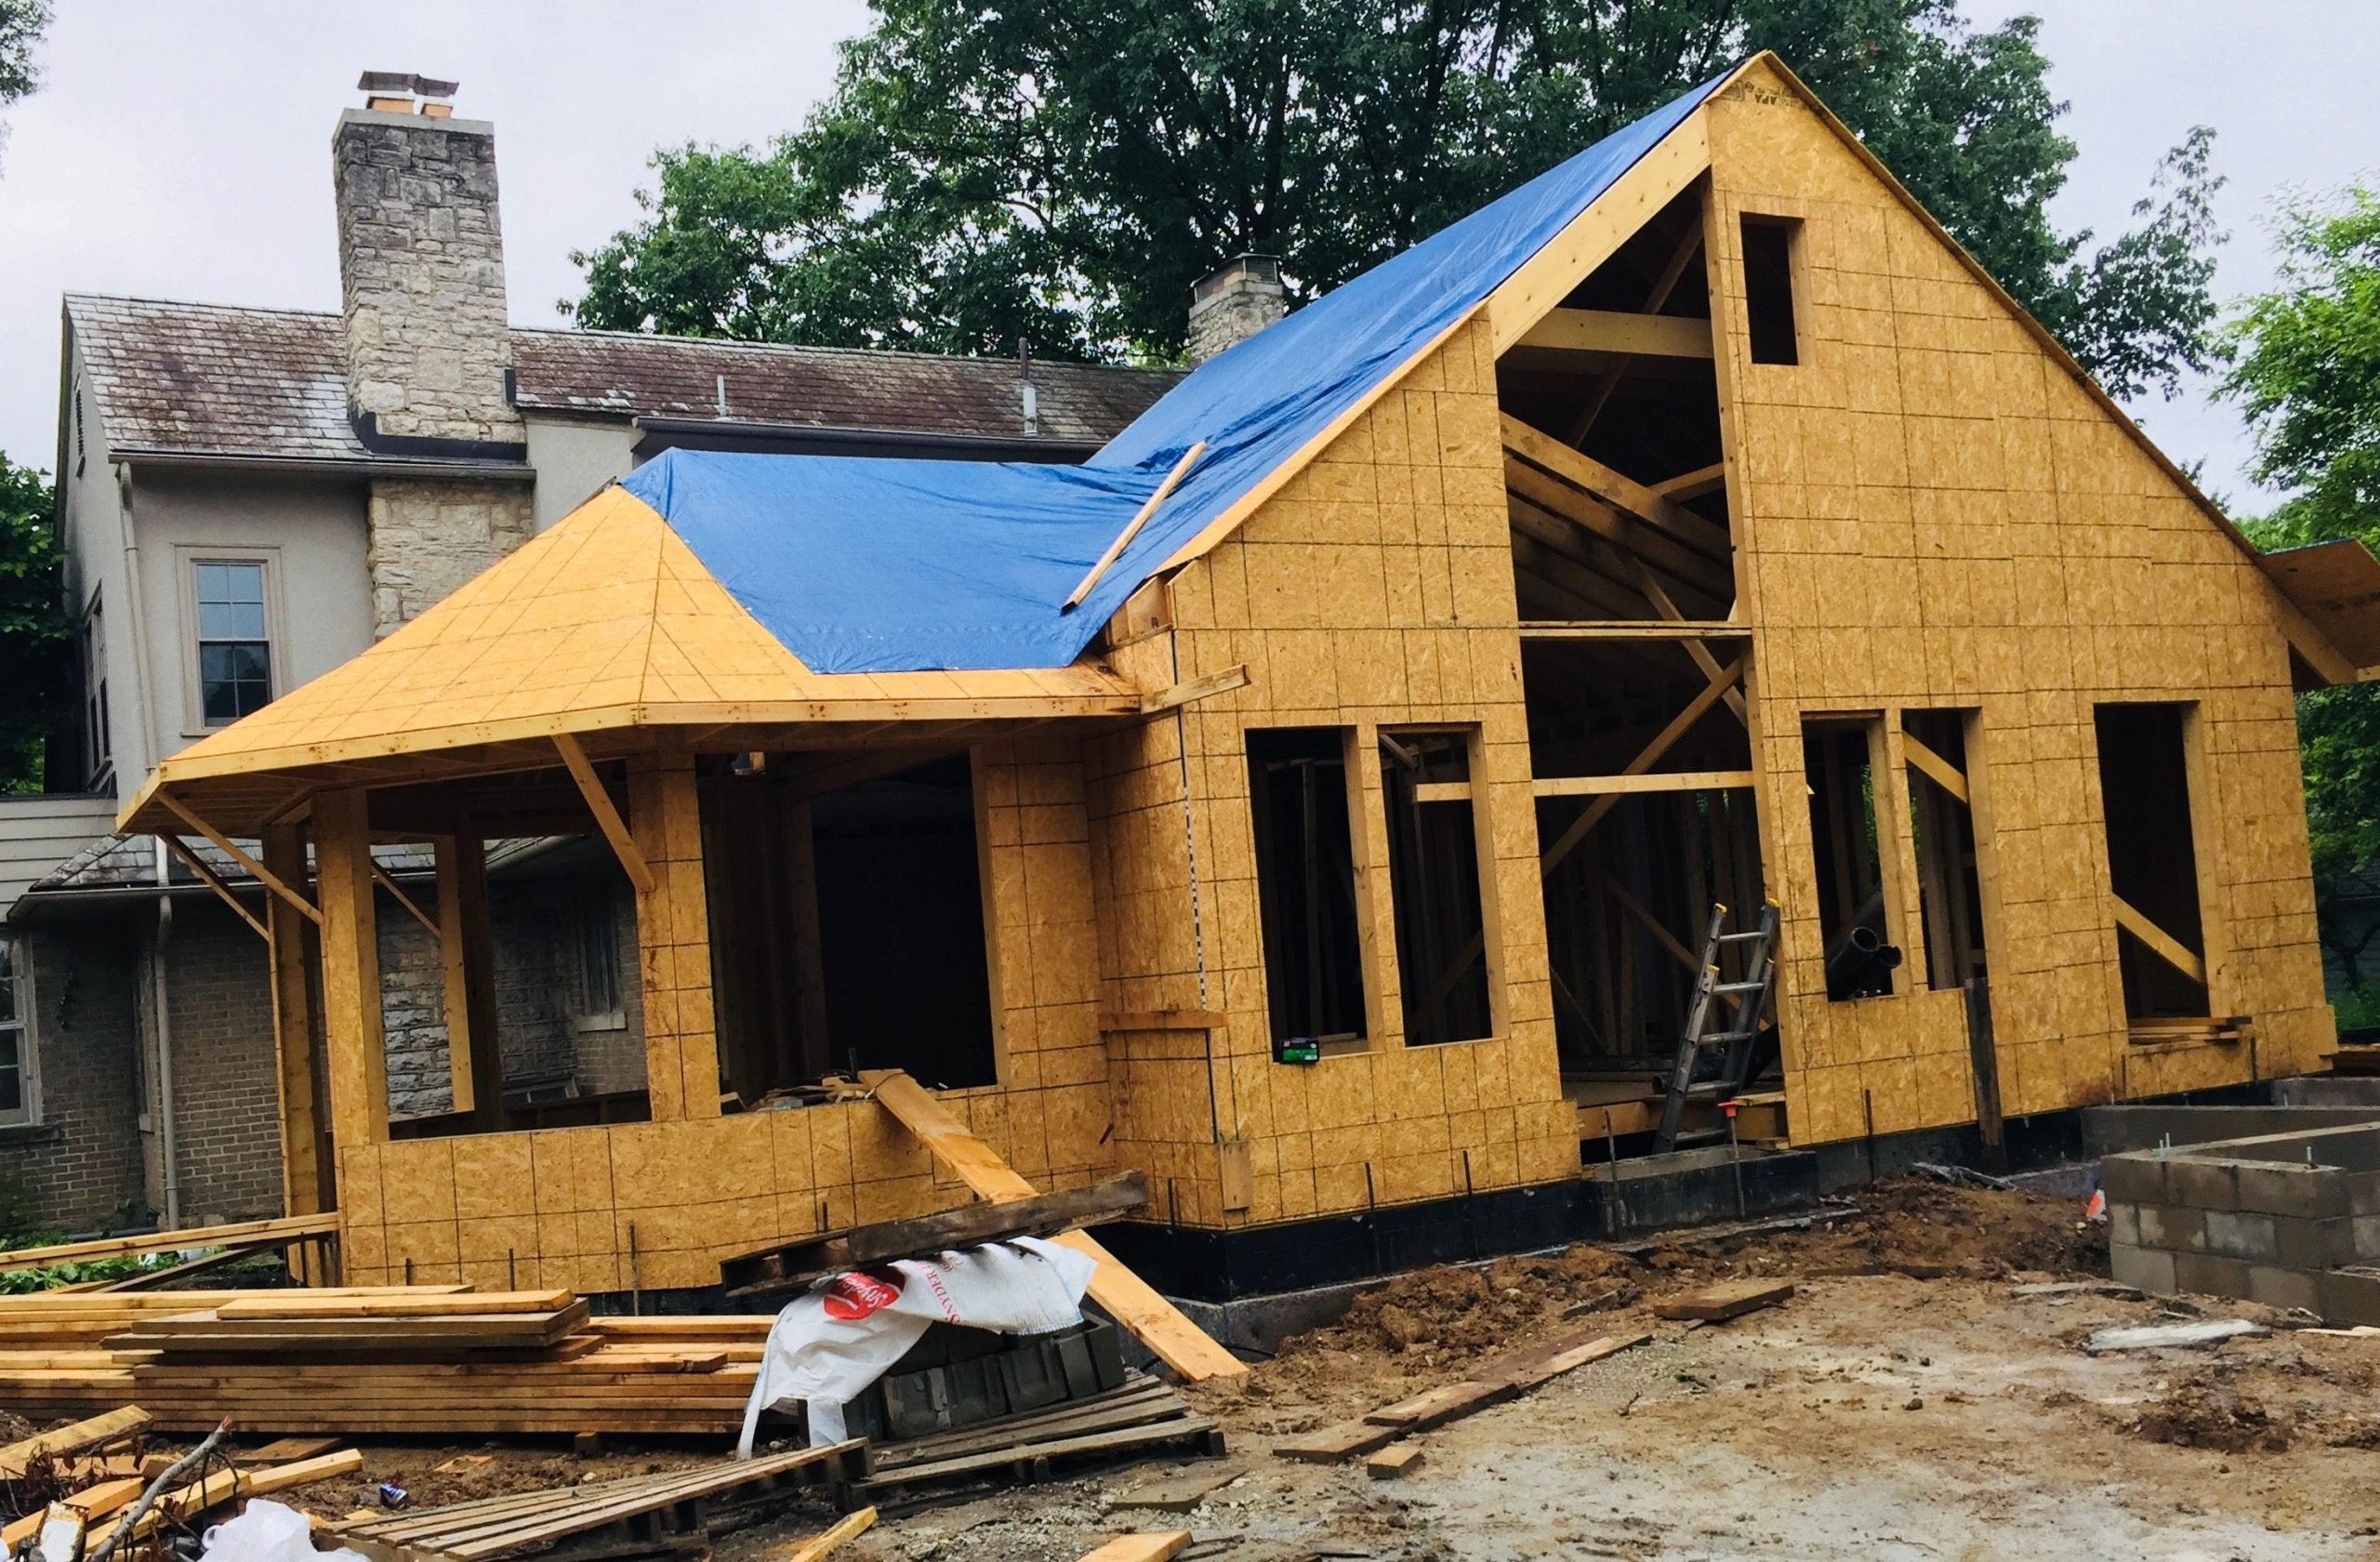
No Drip Painting is a member of our local National Association of the Remodeling Industry (NARI) and had the great opportunity to sit in on a photography training seminar this past month. Focusing on before and after photos of house remodels and transformations, this seminar taught us many tips and tricks to consider when staging and presenting the work you have completed.
While the seminar centered around basic photography how-to and key concepts for achieving attention of local home design and construction magazines, there were several take aways that can be applied to capturing painting transformations and for homeowners to use when trying to show off their newly painted, decorated or re-designed spaces. We are excited to share with you a few of the biggest points of conversation from this learning experience.
Photo Do’s and Don’ts
ALWAYS take a ‘before’ picture. It does not matter how dirty, cluttered, dark or embarrassing your space is. Separate your emotions from the space, snap a few photos before you get going, and know that the contrast that will be displayed next to your ‘after’ picture is going to be outstanding.
Don’t waste your time with ‘during’ pictures. Most folks are not interested in seeing your perfectly demolished space or seeing your walls post-wallpaper removal. People want to see what the space was and what you created, not your grunt work in between. (…but, don’t forget to pat yourself on the shoulder for a job well done. You do deserve credit!)
Showcase the Function
Carefully determine what you want your picture to convey as you show off your space. Some easy questions to ask yourself are listed below. How do I/my family use this space? When are we most often in this space? Why did we do this remodel? This will help guide your staging. Below is just one example of how to match your intent for the space with your photo.
- If you are showcasing your newly painted and accessorized kitchen island that was designed so you can have your kiddos up at the stools doing homework after school, then stage with this in mind. Place some organized school supplies on the island and some small platters of after school snacks and snap your ‘after’ photos with the natural afternoon light shining in. Do not take your picture at night with all of the house lights on. Do not take your photo with breakfast cereal and muffins on the counter. Do not take your photo during situations that don’t reflect your intent.
Be Realistic: Sunlight and People
Think natural. Many folks want to brighten up their pictures by turning on every lamp and overhead light in the space before they take their pictures; this is likely not your best option. Depending on your bulbs, you may start casting yellow or blue hues on your walls and furniture and all of a sudden your bright green side table doesn’t look green, or your crisp white walls start to appear a pale pink. Consider natural light (as much as possible).
People are not bad! I know, I know we don’t like being on camera and we don’t want our kids in the space messing it up before we get a few good photos, but remember one thing, people are relatable. People help convey emotions and feelings. An awesome new backyard fire pit is far more exciting with kids smiling around the edges with nice roasty, toasty marshmallows versus a plain photo of a stacked stone fire pit with some never-before-burned wood in the center.
It is probably not a far stretch to assume most of us are snapping photos on our smart phones so make sure to go into your settings and make sure the highest resolution possible is selected.
Be the Critic
Finally, take a look at your picture after it is taken and analyze the picture. Is it too dark in a certain corner? Is there too much clutter? Is it lacking color? See if you need to adjust the lighting, add a small floral arrangement or cluster a set of accessories together to draw in your viewer’s attention. Be critical of your photo so your viewers are not!
Happy photo taking! Be proud to show off the wonderful time and effort you put into your home!


