We love those age old questions, like to tape or not to tape? What is your preference? The fact of the matter is, there isn’t so much a ‘preference’ on whether or not to tape when painting as there are important reasons to do so at times. Tape, in the professional world of painting, is not so much for creating a straight line (a good painter will have a very straight ‘cut’ line), but a resource to use in order to avoid unintended paint consequences. Throughout this article we walk you through some necessary reasons to keep that trusty tape on standby.
People often think you only tape because you can’t get a straight line without it. While we do use tape to get straight lines in specific situations, there are many other reasons tape can enhance the finished result of your paint job. Let’s look at a few of those reasons.
To Tape…
Notes: If you are going to use tape, don’t be embarrassed to watch a quick video on correct application. You want long strips, strong adhesion (a putty knife or 5 in 1 tool will help in this) and you want to sufficiently get tape in the corners.
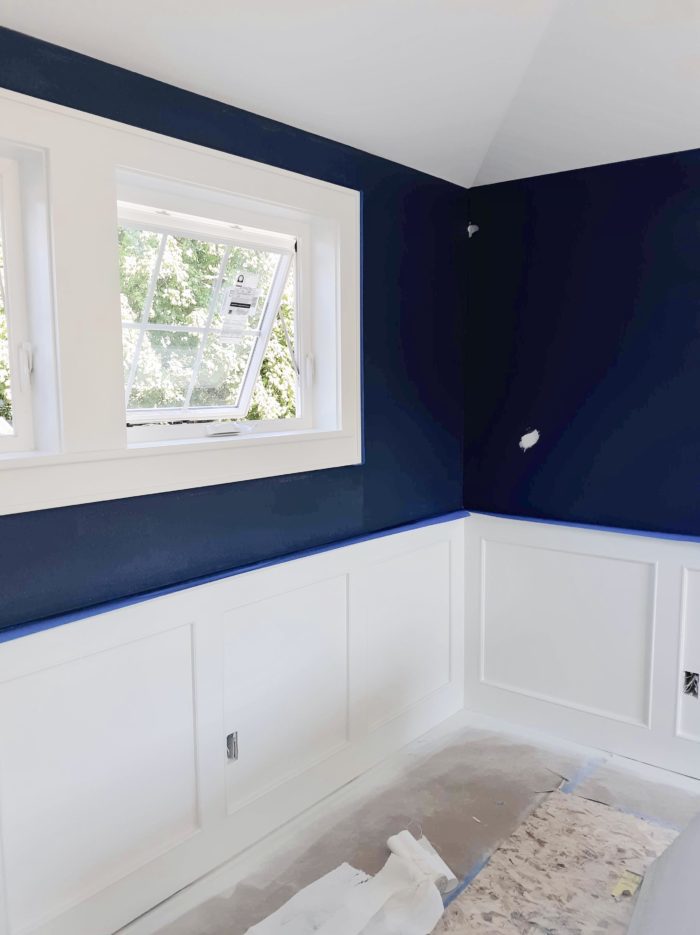
Protect From Sprinkles
If you aren’t planning on painting your baseboard there is nothing worse than looking down and seeing hundreds of little (and I mean the most of petite, yet ever so strong) paint sprinkles gently holding on to your base. Applying a layer of painter’s tape around the room prior to starting will save you much clean up and safely protect your baseboard. Now, if you forget to tape off your base and you find yourself in this situation, and catch it early enough, a damp rag will suit you just right to wipe those sprinkles away.
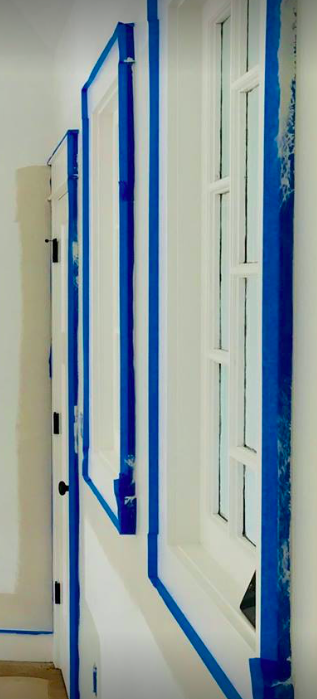
Create A Crisp Caulk Line
Often times trim is in need of a new bead of caulking when it is time to paint so this would be another one of those reasons to grab your trusty tape and go ahead and apply it. Once you apply the tape, right up to the edge of your trim (where it meets the wall), you can run your smooth new caulking and let it dry. This is often referred to as ‘back fill’. After you have completed this step you can apply your paint. Because the caulk created a new seal you close any gap between the trim and wall, protect any paint bleed through the tape and will have a very straight, smooth cut line when you remove the tape.
To Create Horizontal or Vertical Lines
Now, this one may be a no brainer, but using tape to support in marking off incredibly level and straight horizontal or vertical paint lines is a terrific use of the product. Go ahead and measure out some indicator marks on the wall first so you know where you need to apply the tape and then go ahead and adhere. It is always important to use the longest strips of tape that you can effectively apply in order to prevent gaps, uneven surfaces or excessive spots of tape overlap
 Not to Tape…
Cutting the Ceiling
Folks, I hate to tell you, but it simply never seems to work out to tape the ceiling in order to get a straight cut line. This is just one of those areas where you need to trust that you(and your quality brush) can apply the paint in a steady and straight fashion. More times than not you will still find an uneven cut line, or even worse-paint bleed-if you try taping in this manner.
Fresh Paint
If you are looking to see your fresh paint job peel right away from the wall, go ahead and tape on fresh paint. If, instead, you would like to protect your new paint, then avoid applying paint to any fresh paint. Geometric patterns, stripes, grids, and accent features are awesome, but you have to exhibit an extreme amount of patience in this process if it requires multiple taping endeavors in between coats.
Remove the Tape
At last it is time to remove the tape and reveal your final results! Here are a few important tips to ensure ease of removal.
- Paint needs to be dry.
- Remove by pulling your tape away from the wall at a 45 degree angle.
- This is not a band-aid! Go slow.
- Keep your utility knife nearby in case any areas do get stuck. Gently set it free.
Happy Painting!